Troubleshooting Common Scissor Gripping Problems in Children
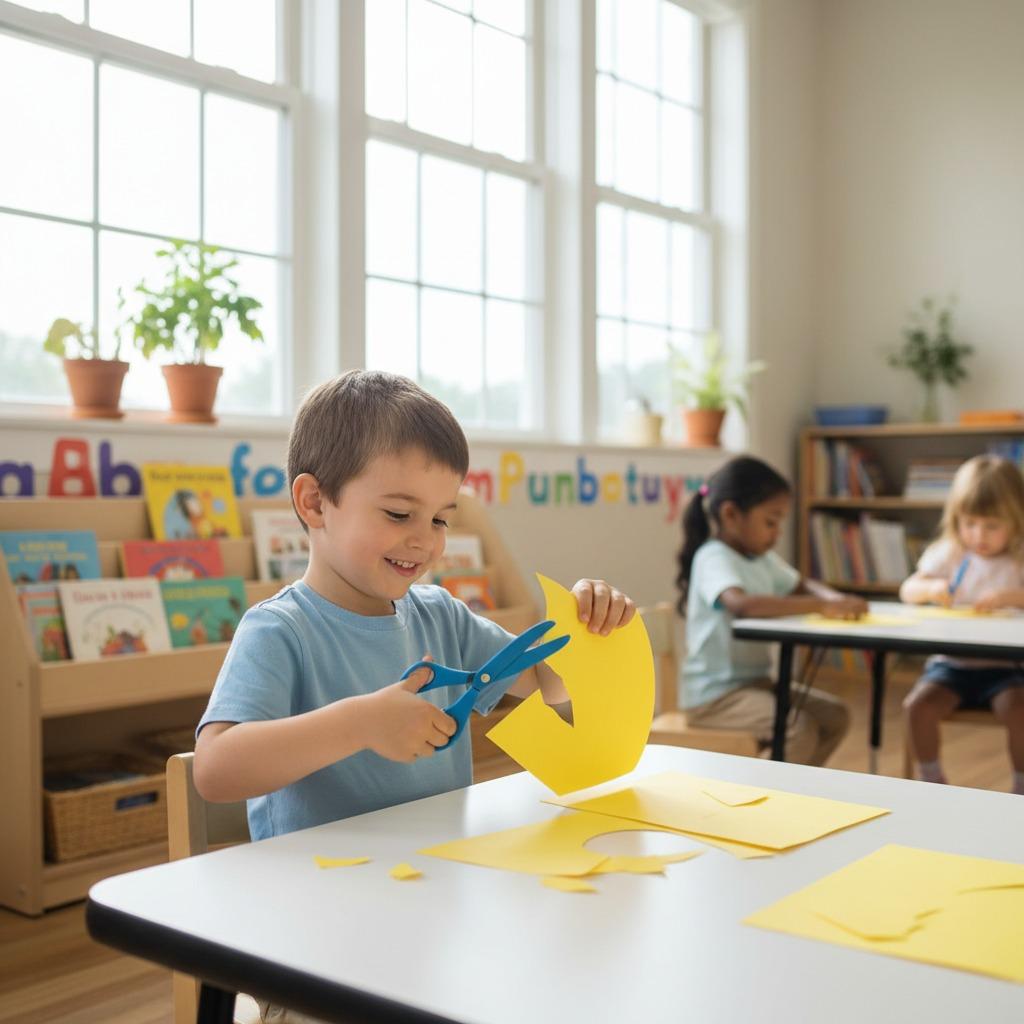
Many young children struggle with scissor skills, especially when using school scissors in preschool or kindergarten. Mastering the proper grip is essential for developing fine motor skills, hand-eye coordination, and confidence in arts and crafts. Poor scissor grip can lead to frustration, messy cuts, or avoidance of cutting activities altogether.
This guide explores common gripping issues, their causes, and practical troubleshooting tips. We'll also include a handy table summarizing problems and solutions, along with visual examples.
Why Proper Scissor Grip Matters
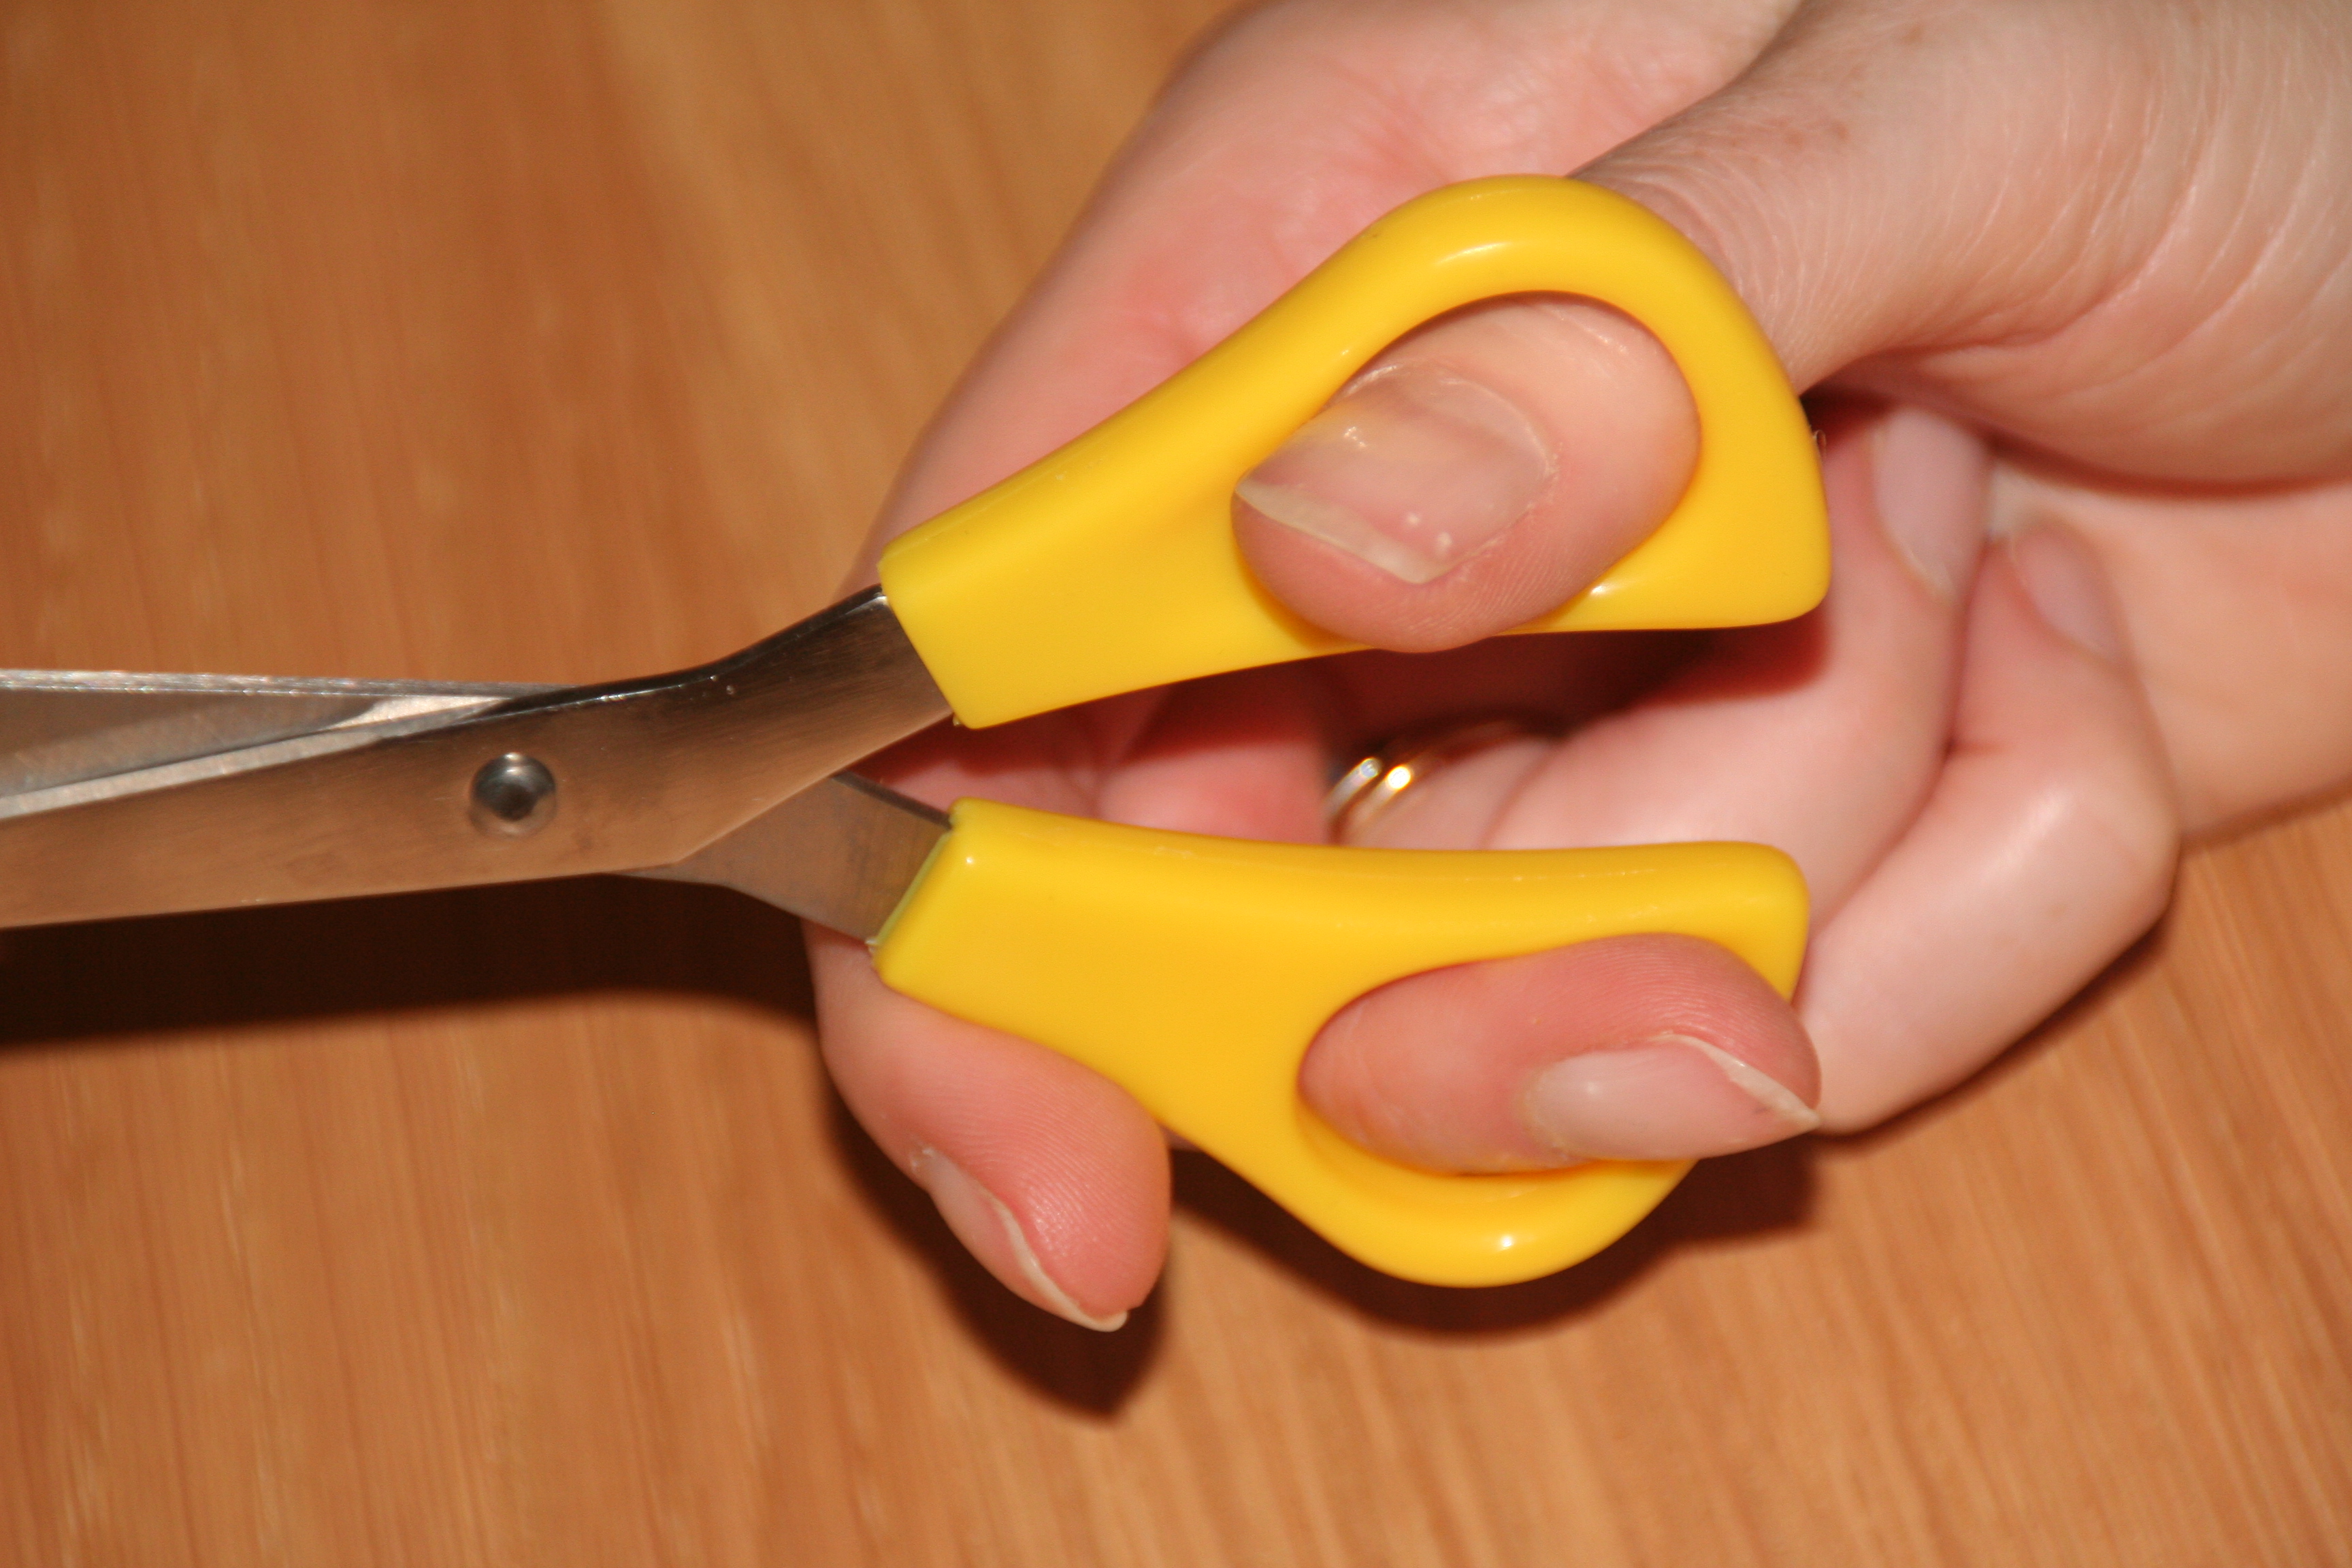
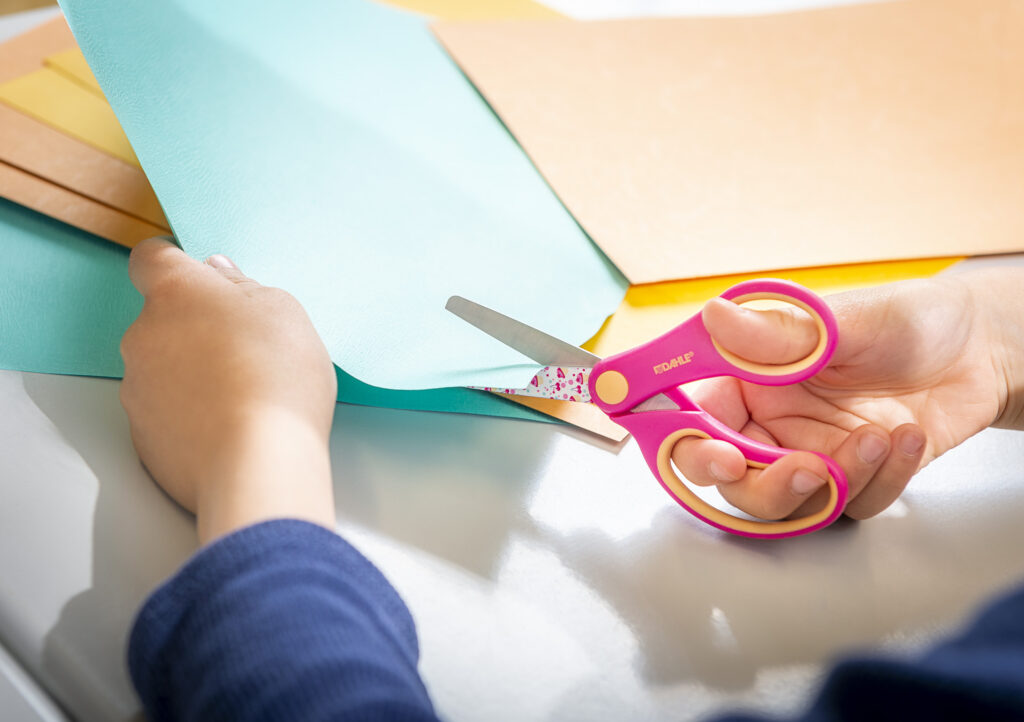
A correct grip allows smooth opening and closing of the blades while keeping the wrist stable and thumbs pointing up. For school scissors (typically child-safe blunt-tip models with plastic handles), the ideal mature grip involves:
- Thumb in the smaller top loop.
- Middle finger in the larger bottom loop.
- Index finger supporting the outside of the bottom loop for control.
- Ring and pinky fingers curled into the palm for stability.
- Wrist slightly rotated inward.
Early habits are easier to correct than bad ones formed later.

Pro tip: Use a simple rhyme like "Thumb on top, two below" to help kids remember finger placement.
Common Scissor Gripping Problems and Fixes
Here are the most frequent issues observed in children learning to cut with school scissors:
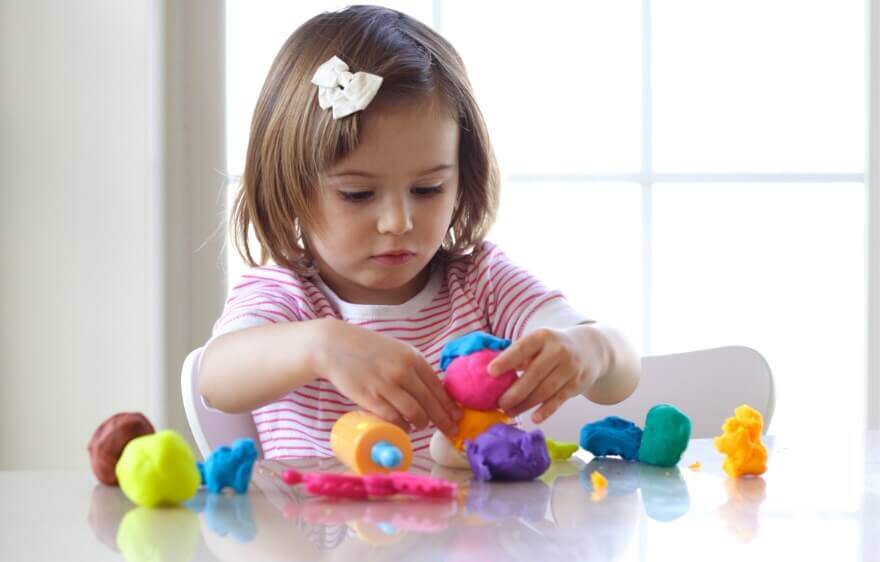
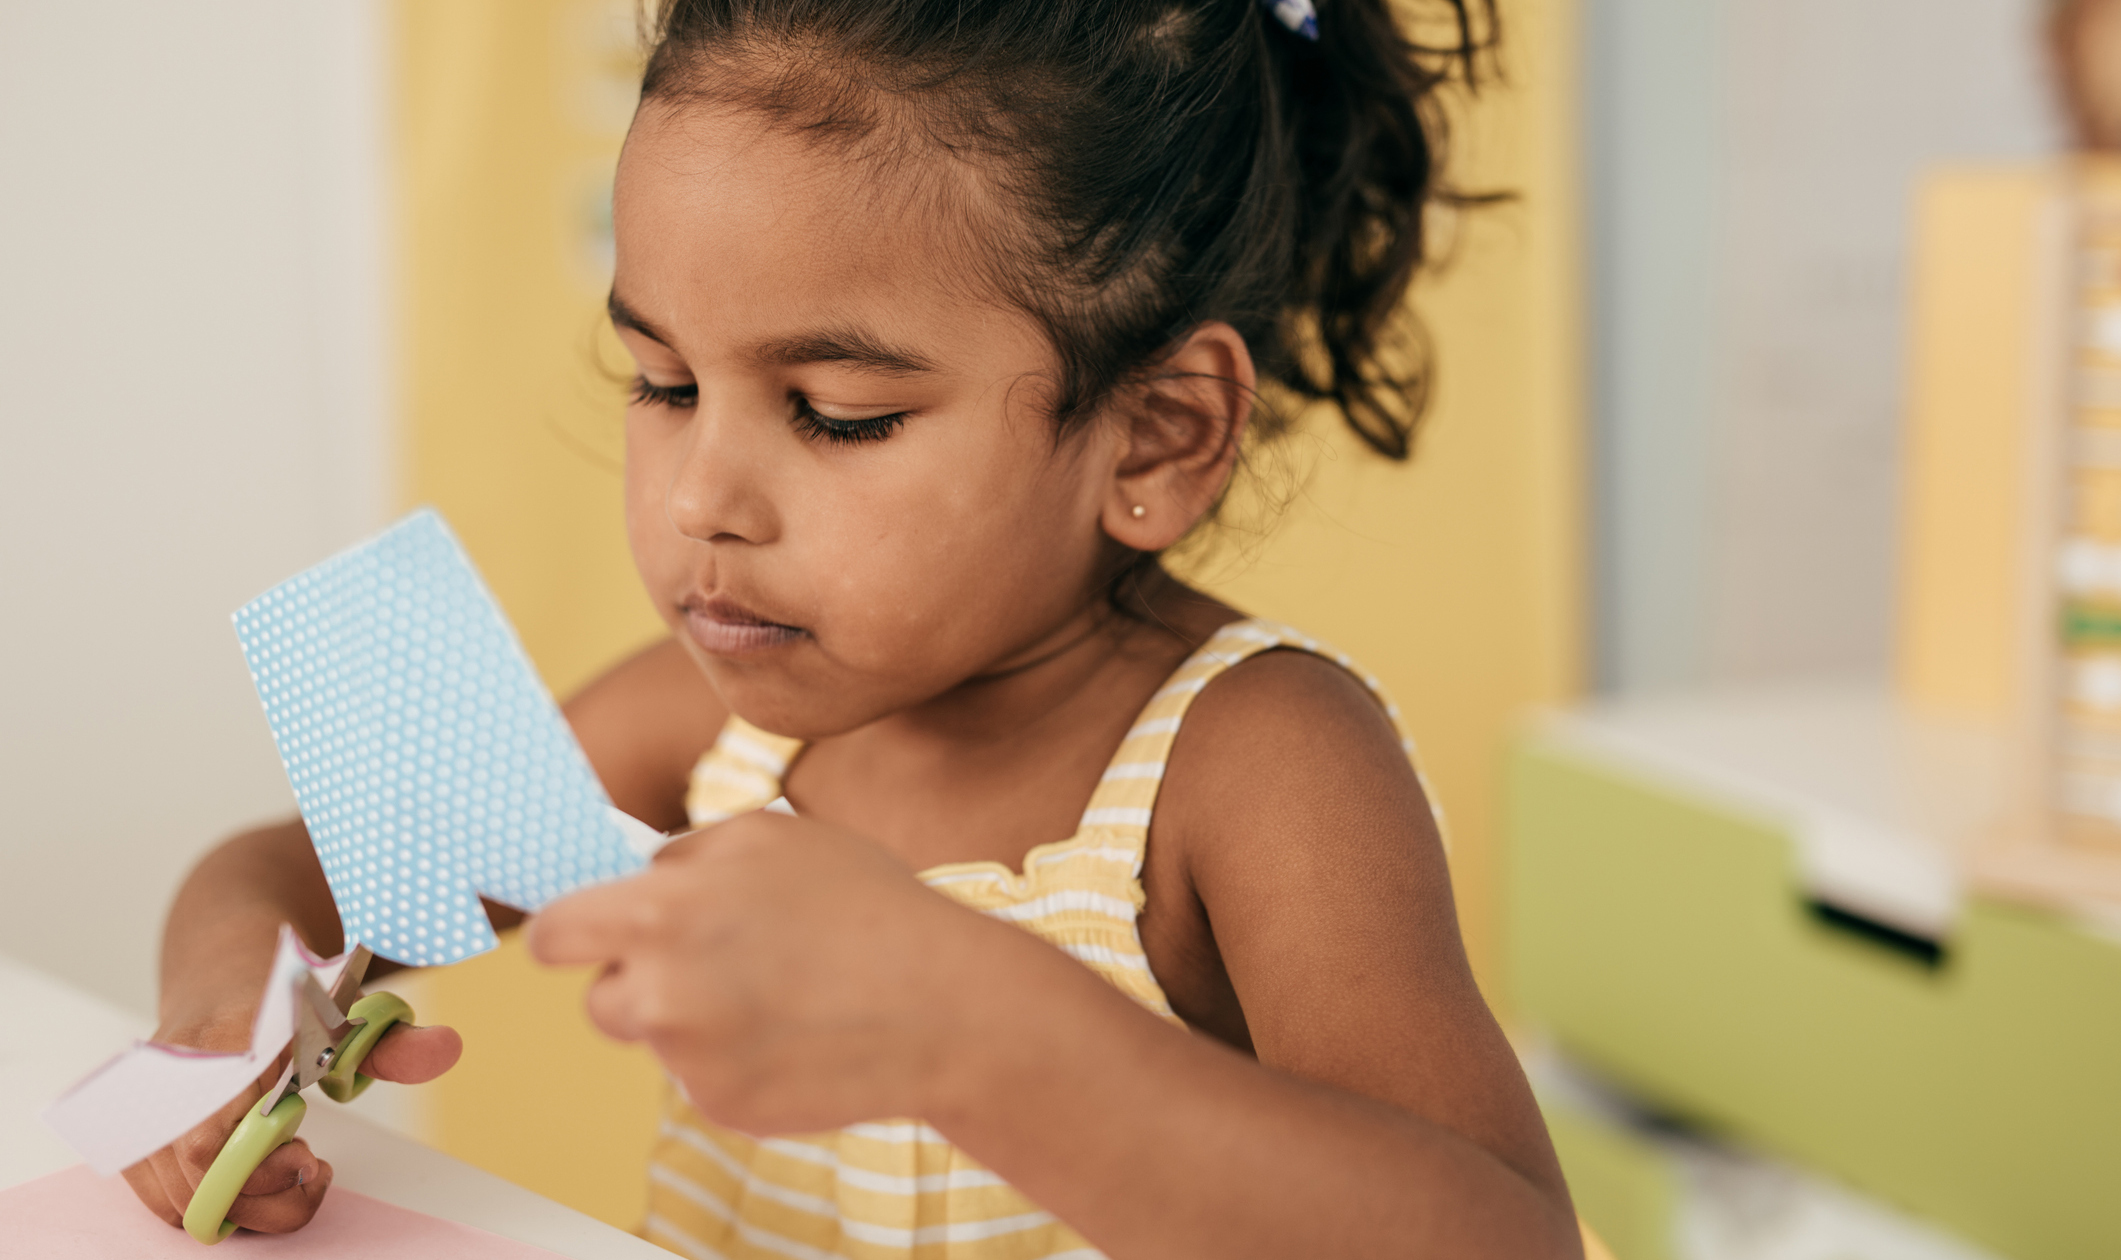
- Fisted or Whole-Hand Grip The child holds the scissors like a fist, with all fingers together and limited control. Cause: Weak hand muscles, lack of finger isolation, or immature grasp development. Fix: Start with hand-strengthening activities like squeezing playdough or using tweezers. Use adaptive school scissors with spring-loaded or larger loops initially. Practice opening/closing without paper first.
- Thumb in Wrong Loop or Upside-Down Hold Thumb placed in the larger loop, or scissors held with blades pointing incorrectly (thumbs down). Cause: Confusion with loop sizes or poor visual-motor skills. Fix: Mark the small loop with a sticker for the thumb. Practice the "two thumbs up" position—both hands' thumbs should face the ceiling when holding paper and scissors. Demonstrate with your own hand first.

- Index Finger Inside the Bottom Loop (Instead of Supporting Outside) Both index and middle fingers crammed into the larger loop, reducing control. Cause: Habit from larger-handled scissors or insufficient guidance. Fix: Place a small sticker or dot on the outside of the bottom loop for the index finger. Encourage the index finger to "steer" while the middle finger does the work.
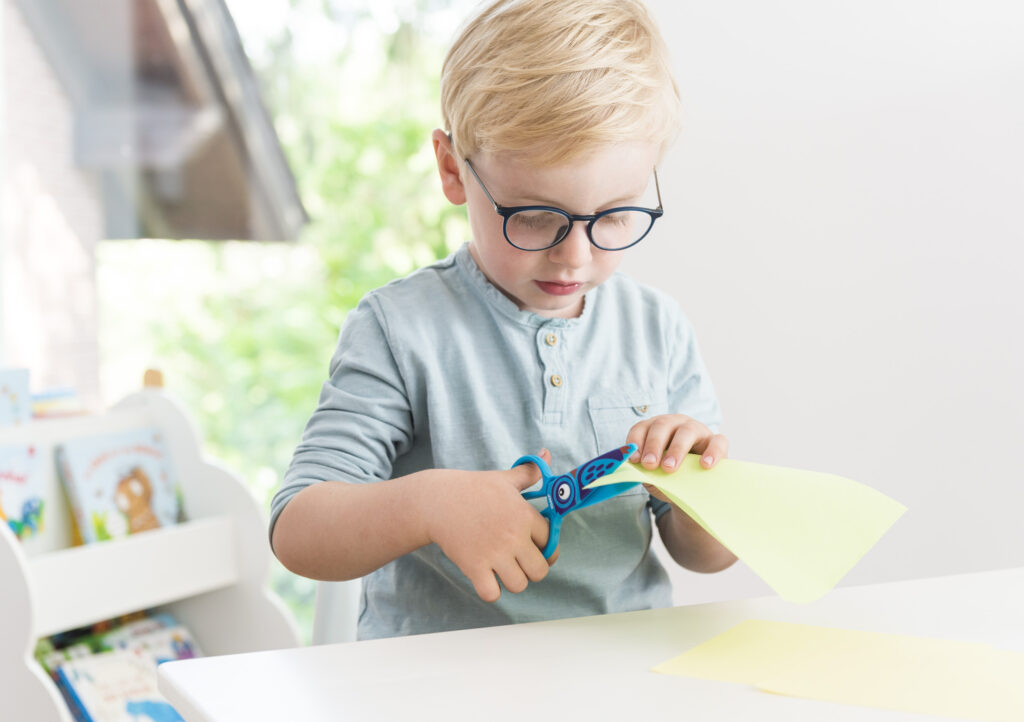
- Poor Bilateral Coordination (Not Holding Paper Properly) One hand struggles to hold and rotate the paper while the other cuts, leading to awkward angles or dropping paper. Cause: Weak non-dominant hand or difficulty coordinating both sides of the body. Fix: Teach the "helper hand" to hold paper with thumb on top. Start with straight lines on thick construction paper. Have the child lift the paper off the table slightly.

- Wrist Turned Out or Elbows Flared Wrist faces outward, causing blades to twist and cuts to go off-line. Cause: Poor wrist stability or compensatory movements. Fix: Tuck a folder or soft object under the elbow to keep it close to the body. Practice cutting while keeping the wrist "facing inward."
- Gripping Too Tightly or Weak Opening/Closing Child squeezes hard or can't open the blades fully. Cause: Low muscle tone, poor proprioception (body awareness), or weak intrinsic hand muscles. Fix: Incorporate fun strengthening games like tearing paper, using hole punches, or rolling small balls of clay. Consider left-handed school scissors if the child is left-dominant.
Summary Table: Common Problems & Solutions
| Problem | Possible Causes | Troubleshooting Tips | Recommended School Scissors Features |
|---|---|---|---|
| Fisted grip | Weak fine motor muscles, immature grasp | Hand strengthening (playdough, tweezers); start with spring-loaded scissors | Large padded loops, spring action |
| Wrong thumb placement | Confusion with loops | Sticker on thumb loop; "two thumbs up" cue | Color-coded or guided loops |
| Index finger inside loop | Habit or poor instruction | Sticker on outside of bottom loop; verbal cue "pointer helps steer" | Smaller loops for better separation |
| Not holding/rotating paper | Bilateral coordination weakness | Practice helper hand separately; cut thick paper; lift paper off table | Blunt-tip safety blades |
| Wrist turned out/elbow flared | Poor stability | Hold object under elbow; focus on "wrist inward" | Lightweight, ergonomic handles |
| Gripping too tight/weak control | Low tone or proprioception issues | Sensory play, finger isolation exercises; gradual practice | Soft-grip, easy-open models |


Step-by-Step Teaching Guide for School Scissors
- Build Foundations: Strengthen hands with playdough, beads, or clothespins.
- Introduce Grip: Model correct hold. Let the child practice opening/closing in the air.
- Simple Cuts: Start with snips on fringe paper, then straight lines.
- Progression: Move to curves, shapes, and finally complex pictures.
- Supervise Safety: Always use blunt-tip school scissors and teach "walking" with scissors pointed down, handles up near the heart.

When to Seek Extra Help
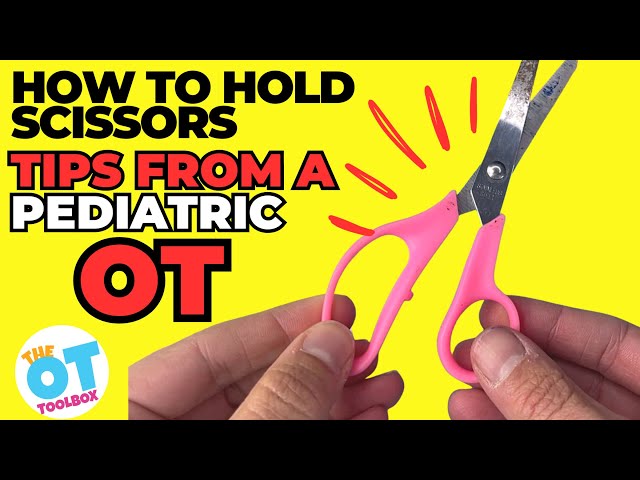
If problems persist despite practice (e.g., after age 5–6), consider consulting an occupational therapist. Issues may link to fine motor delays, retained reflexes, or sensory processing.
Consistent, fun practice with the right school scissors makes a huge difference. Celebrate small wins—your child will soon be confidently cutting out shapes for school projects!