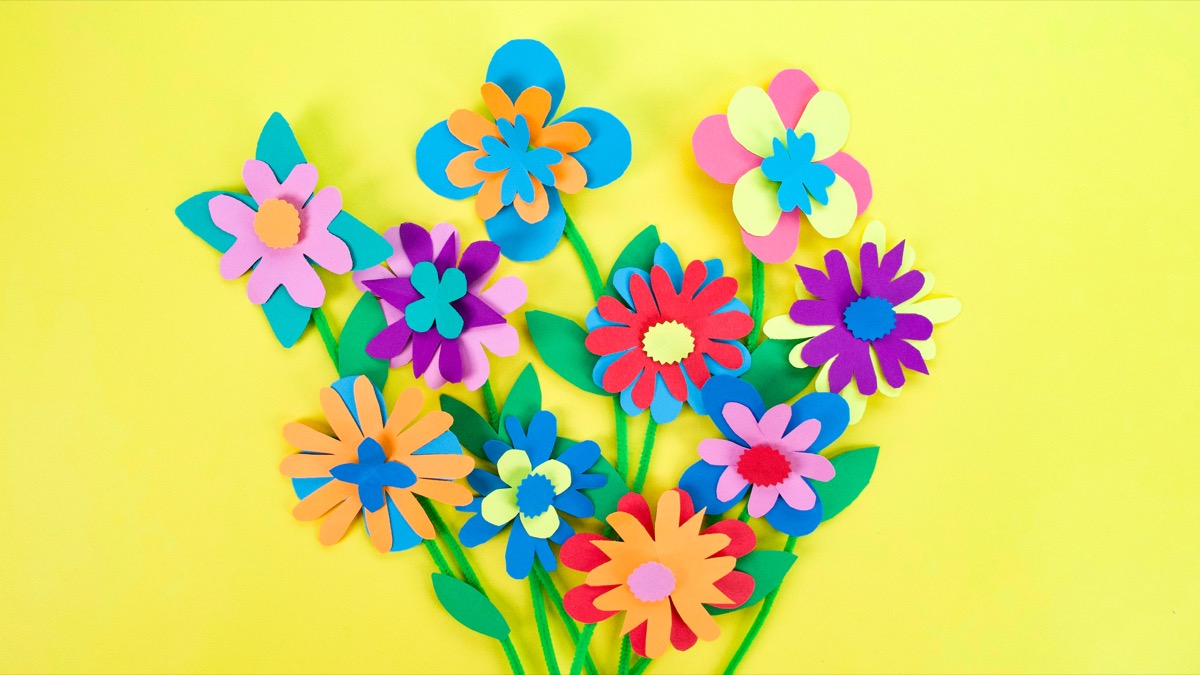
Springtime Blooms: Cutting Paper Flowers for a Classroom Bouquet
Welcome to a burst of spring color right in your classroom! As the days grow warmer and flowers begin to peek out, there's no better way to celebrate the season than with a hands-on craft project. This Springtime Blooms activity combines creativity, fine motor skills, and teamwork as students create vibrant paper flowers to form a beautiful classroom bouquet. Perfect for elementary classrooms, this project is simple, budget-friendly, and endlessly customizable.
Whether you're a teacher looking for an engaging spring lesson or a parent hosting a craft day, these paper flowers will brighten any space and bring smiles all around.
Why This Craft is Perfect for Spring
- Develops fine motor skills: Cutting, folding, and assembling pieces.
- Encourages creativity: Students choose colors and designs.
- Promotes collaboration: Building one big classroom bouquet together.
- Seasonal tie-in: Links to lessons on plant life cycles, pollination, or weather.

Materials Needed
Gather these supplies for a class of 20-25 students. Most items are standard classroom staples.
| Item | Quantity (approx.) | Notes |
|---|---|---|
| Colored construction paper or cardstock | 10-15 packs (assorted colors) | Bright spring hues: pink, yellow, blue, purple, green |
| School scissors | 1 pair per student | Child-safe blunt-tip for safety |
| Glue sticks or white glue | 1 per 2-3 students | Quick-drying preferred |
| Green pipe cleaners or straws | 20-30 pieces | For stems |
| Pencils & erasers | As needed | For tracing templates |
| Vase or jar | 1 large | For the final bouquet display |
| Optional: Buttons, glitter, markers | Small amounts | For added decoration |
Pro Tip: Emphasize safe use of school scissors — remind students to keep points down and cut only paper!

Step-by-Step Instructions
1. Prepare Flower Templates
Trace or draw simple flower shapes on colored paper: daisies, tulips, roses, or abstract blooms. Provide templates for younger students or let older ones design freehand.
2. Cut Out the Pieces
Using school scissors, carefully cut out petals, flower centers, and leaves. This is where the fun (and skill-building) begins!

3. Assemble the Flowers
- Layer petals for dimension.
- Glue a contrasting center circle.
- Attach leaves to the back.
- Wrap the base around a pipe cleaner or straw for the stem. Secure with glue or tape.
4. Create the Bouquet
Once flowers are ready, gather them into a large bunch. Tie stems with ribbon or place in a decorated vase. Students can add personalized messages or drawings on tags attached to stems.

Tips for Classroom Success
- Differentiation: Provide pre-cut shapes for younger grades; challenge older students to make 3D layered flowers.
- Time management: Allow 45-60 minutes for the full activity.
- Cleanup: Have designated "scrap bins" to recycle paper cuttings.
- Extension activities: Write spring poems, research real flowers, or calculate how many petals were used in the bouquet.
This project turns ordinary paper into a stunning display that lasts all season long!
Final Thoughts
Springtime Blooms isn't just a craft — it's a celebration of growth, color, and creativity. Watching students proudly contribute their handmade flowers to the classroom bouquet is truly heartwarming. Grab your school scissors, colorful paper, and let's bloom together!
Share your classroom creations in the comments below. Happy crafting! 🌸
Keywords: paper flowers, classroom bouquet, spring crafts, school scissors