How to Make Classic Paper Snowflakes: A Step-by-Step Guide
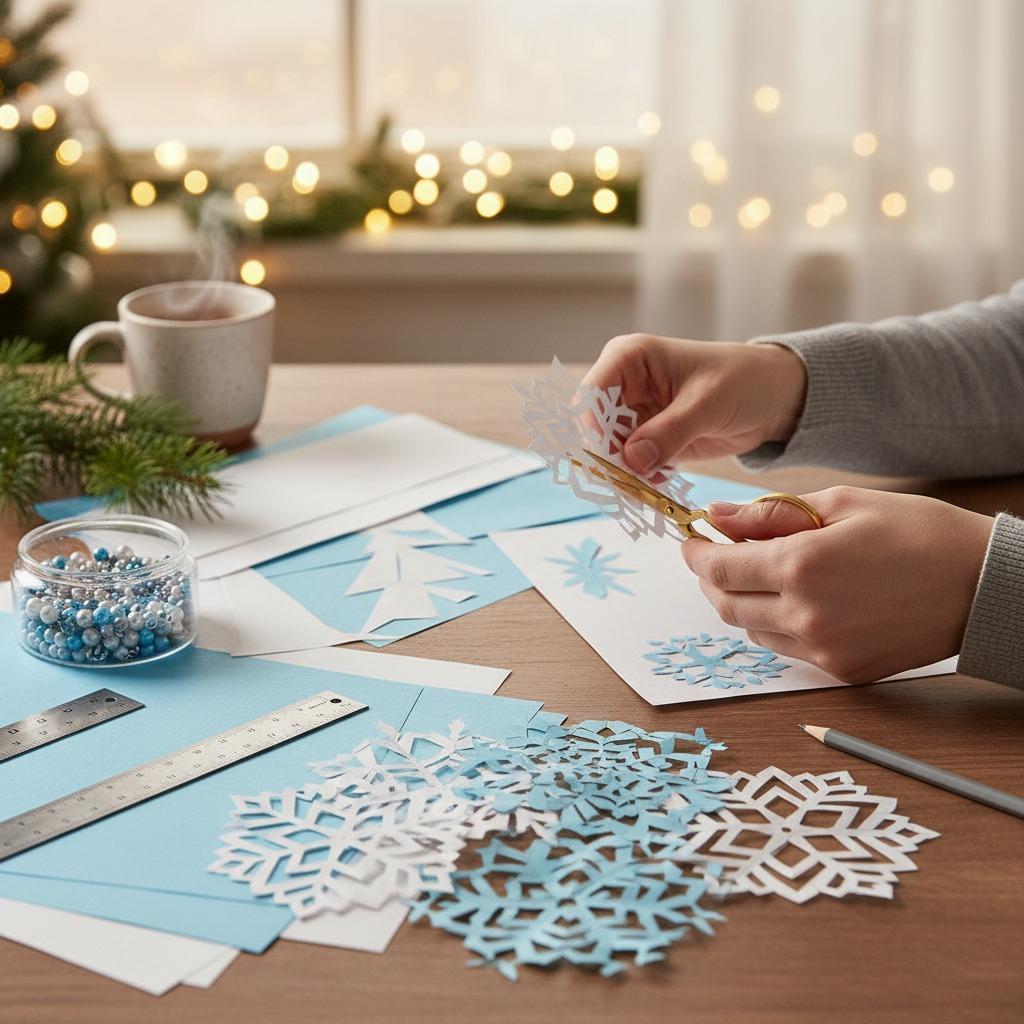
Paper snowflakes are a timeless winter craft that brings magic to any home, classroom, or holiday decoration. Whether you're preparing for Christmas, teaching symmetry in school, or just looking for a fun family activity, making classic paper snowflakes is easy, inexpensive, and endlessly creative. All you need is paper and a pair of school scissors!
This guide walks you through the traditional method to create beautiful six-pointed snowflakes. Perfect for kids and adults alike.
/BHG-how-to-make-paper-snowflakes-0D-iPlsCKjSBVIx5usrRV0-6f06f911210745f4ba6c8ee0e411c291.jpg)

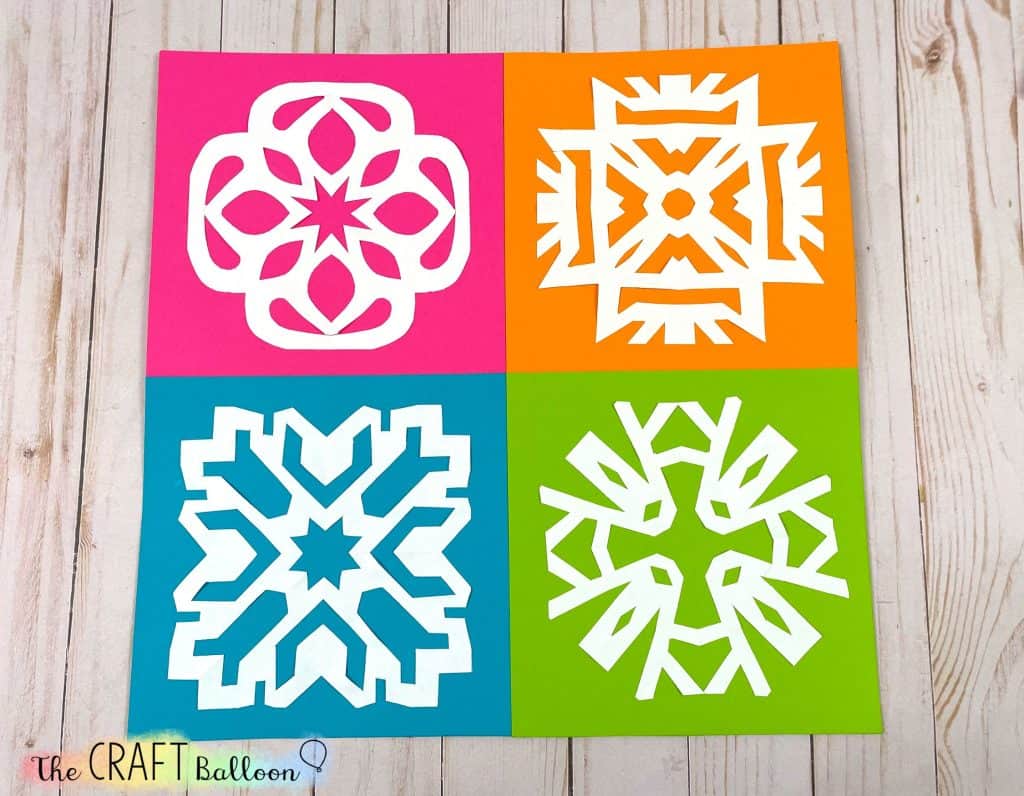
Why make paper snowflakes? They teach geometry, symmetry, and patience while creating unique decorations. No two snowflakes are ever the same—just like in nature!
Materials You’ll Need
| Item | Quantity | Notes |
|---|---|---|
| White printer paper or square origami paper | 1–2 sheets per snowflake | Standard A4 paper works great; trim to square if needed |
| School scissors | 1 pair | Sharp, child-safe school scissors are ideal for classroom use |
| Pencil (optional) | 1 | For drawing cut lines |
| Glitter, markers, or string (optional) | As desired | For decorating and hanging finished snowflakes |


Step-by-Step Instructions
Step 1: Start with a square Take a rectangular sheet of paper and fold it in half diagonally to form a triangle. Cut off the extra rectangle at the bottom to create a perfect square.
Step 2: Fold into a smaller triangle Fold your square diagonally again to make an even smaller triangle.
Step 3: Fold into thirds Fold the triangle into thirds by bringing the left and right corners toward the center, creating a narrow triangle shape. Trim the uneven edges if necessary so all layers align.
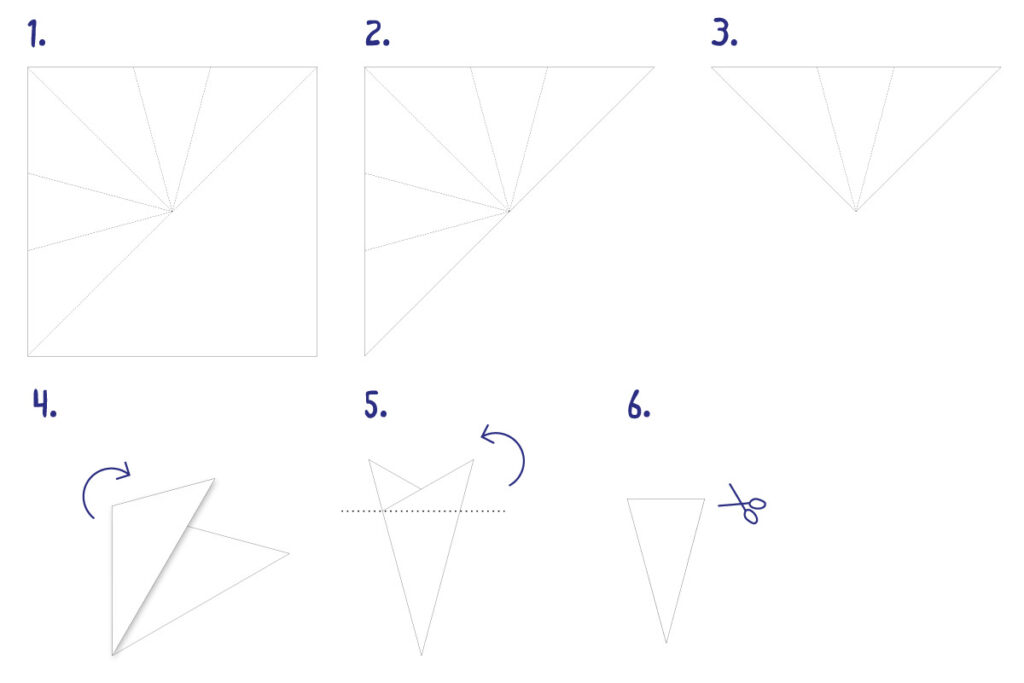
Step 4: Draw and cut your design With the folded triangle in front of you, use school scissors to cut out small shapes along the edges and center. Be creative—cut triangles, curves, hearts, or zigzags. Avoid cutting the folded edges completely, or your snowflake may fall apart.
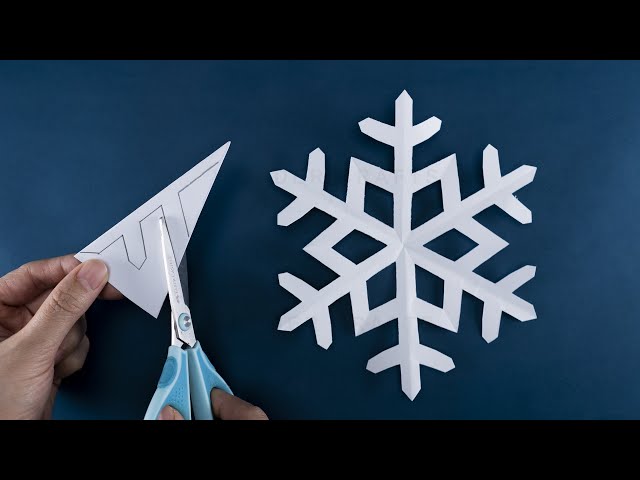
Step 5: Unfold carefully Gently open the paper to reveal your unique snowflake. Flatten it with your hands or a book if needed.
Step 6: Decorate and display Add glitter, color the edges, or tie a string to hang it. Make multiple snowflakes in different sizes for a beautiful winter display.

Folding Diagram Summary (Classic 6-Pointed Snowflake)
- Square → Diagonal fold (large triangle)
- Fold again (smaller triangle)
- Fold into thirds
- Cut designs with school scissors
- Unfold and enjoy!

Tips for Perfect Snowflakes
- Use thin paper for more delicate results.
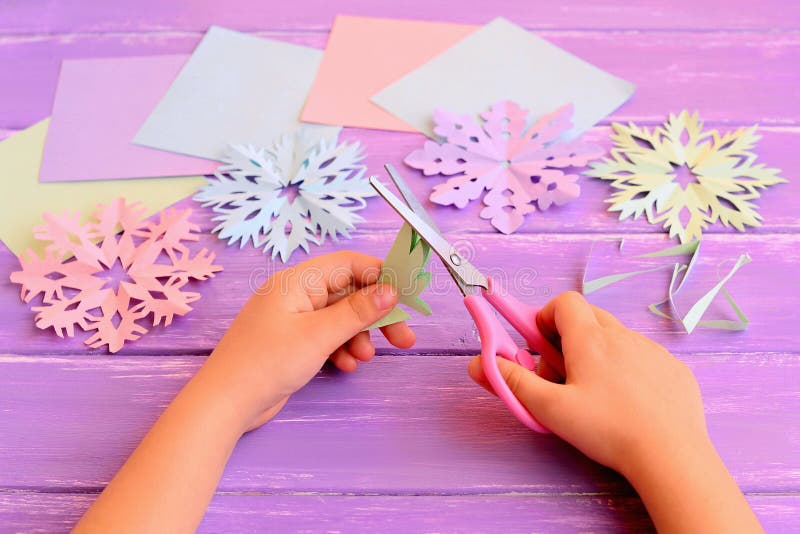
- For younger children, pre-fold the paper and let them focus on cutting with school scissors.
- Experiment with different cut patterns—symmetrical cuts create balanced designs.
- Hang snowflakes from the ceiling or tape them to windows for a snowy effect.
Safety Note
Always supervise young children when using school scissors. Rounded-tip versions are safest for classroom activities.
Making classic paper snowflakes is a wonderful way to welcome winter and spark creativity. Gather your supplies, grab a pair of school scissors, and start folding today!
What designs will you create? Share your snowflakes in the comments below.