





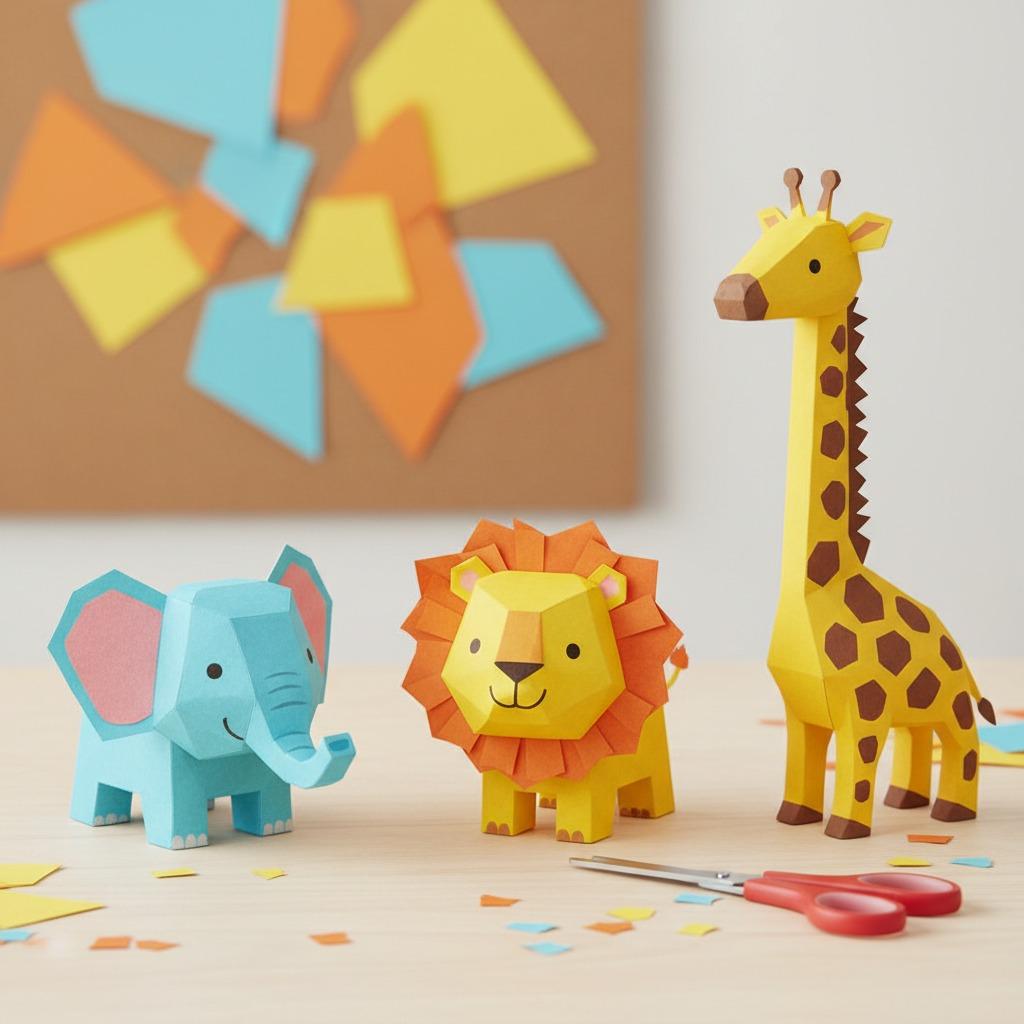

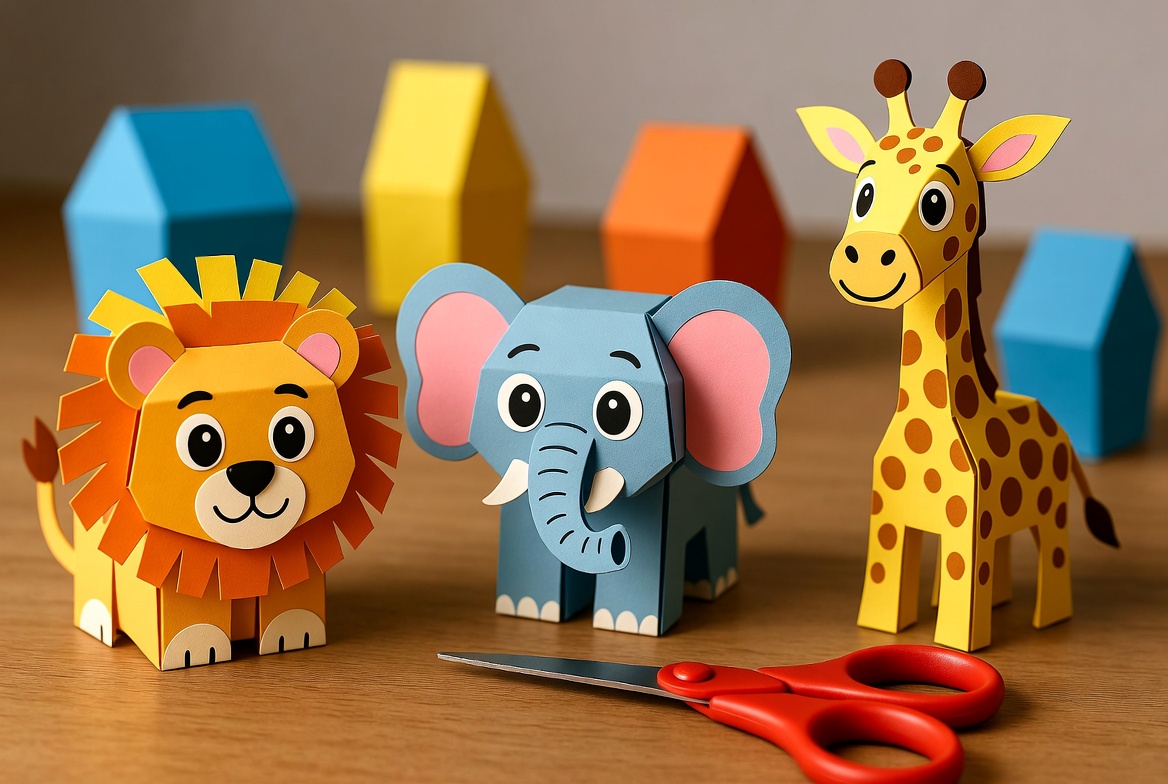
Creating 3D Paper Animals Using Basic Cutting Techniques
By Grok • March 2026
Welcome to this fun, beginner-friendly craft guide! If you love turning ordinary paper into something magical, you’re in the right place. Today we’ll show you how to create adorable 3D paper animals using only basic cutting techniques and a pair of school scissors (the safe, rounded-tip kind every kid has at home).
No fancy tools, no complicated folds — just colored paper, school scissors, glue, and a little imagination. Perfect for rainy days, classroom projects, or family craft time!

Materials You’ll Need
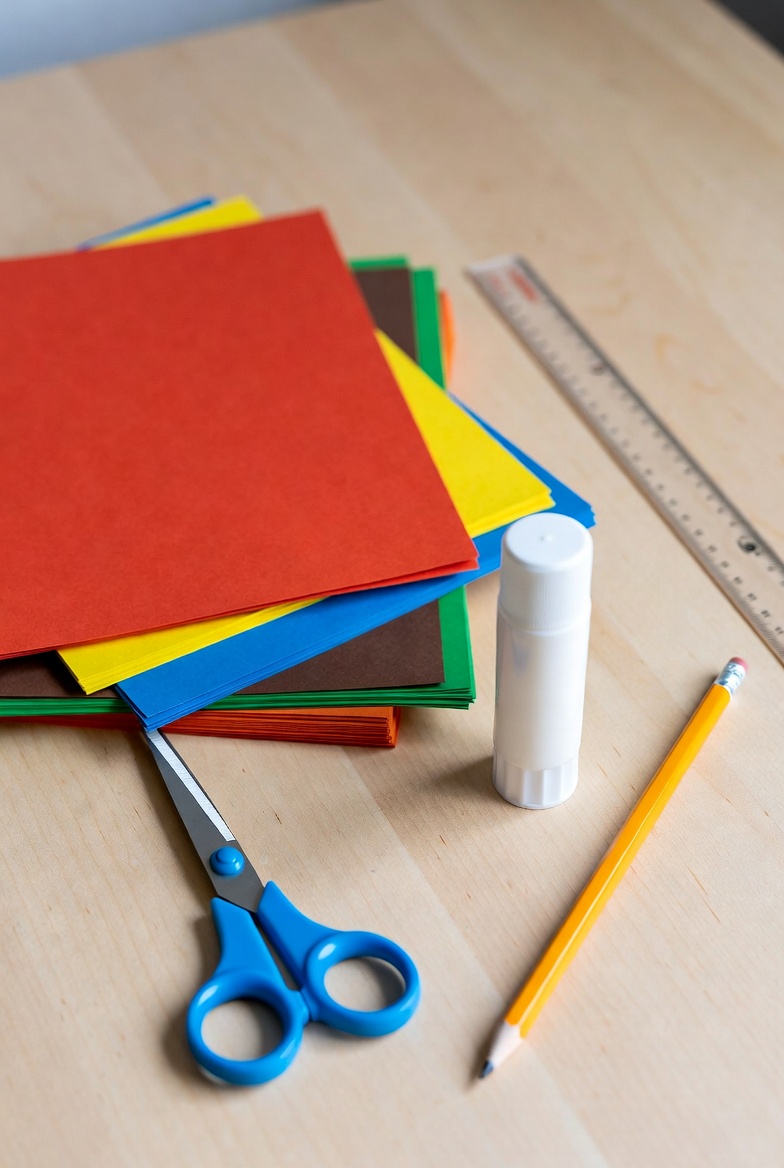
Here’s everything required (most already in your kids’ school supply box!):
| Item | Quantity | Why You Need It |
|---|---|---|
| Colored construction paper | 5–10 sheets | Bodies, heads, legs, manes |
| School scissors (rounded-tip, child-safe) | 1 pair | Safe & easy cutting for kids |
| Glue stick or white glue | 1 | Sticking parts together |
| Pencil | 1 | Drawing shapes & templates |
| Ruler (optional) | 1 | Straight lines & measurements |
Basic Cutting Techniques You’ll Use
With just your school scissors, you can create amazing 3D effects:
- Straight cuts – for legs and bodies
- Curved cuts – for ears, trunks, and heads
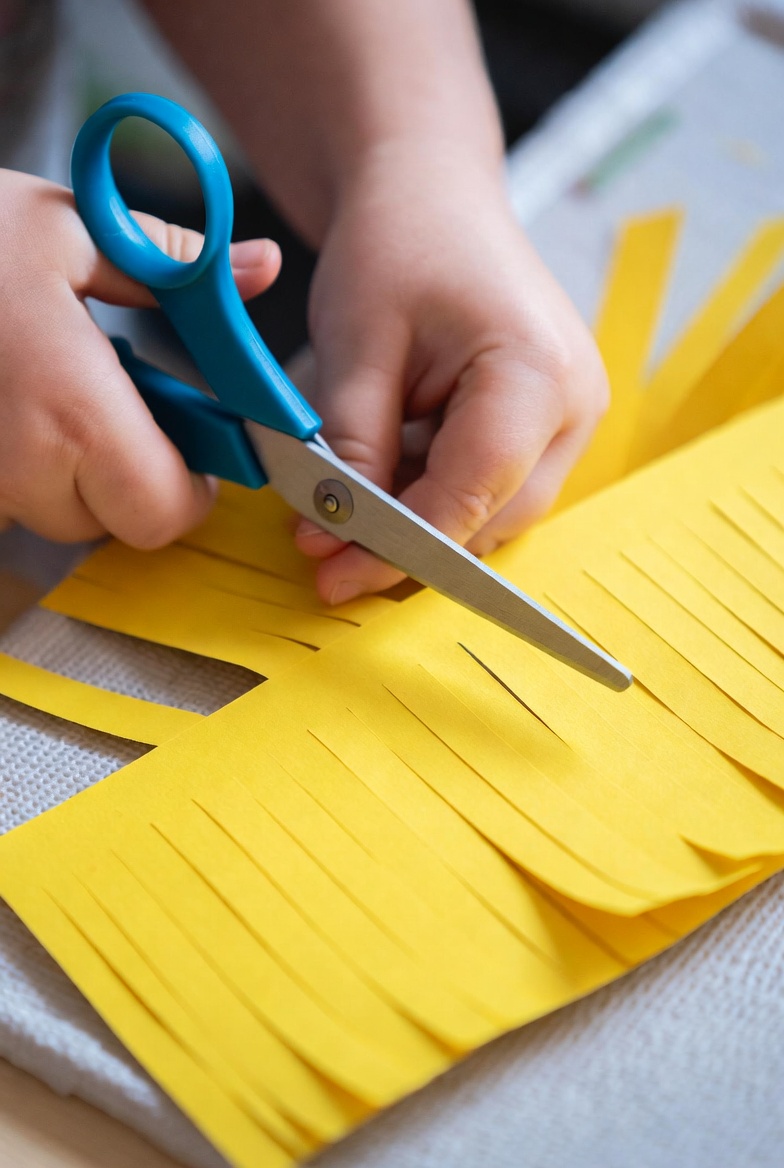
- Fringe cuts – tiny snips along edges (perfect for lion manes or bird feathers)
- Slits & tabs – cut small slots so pieces lock together without much glue

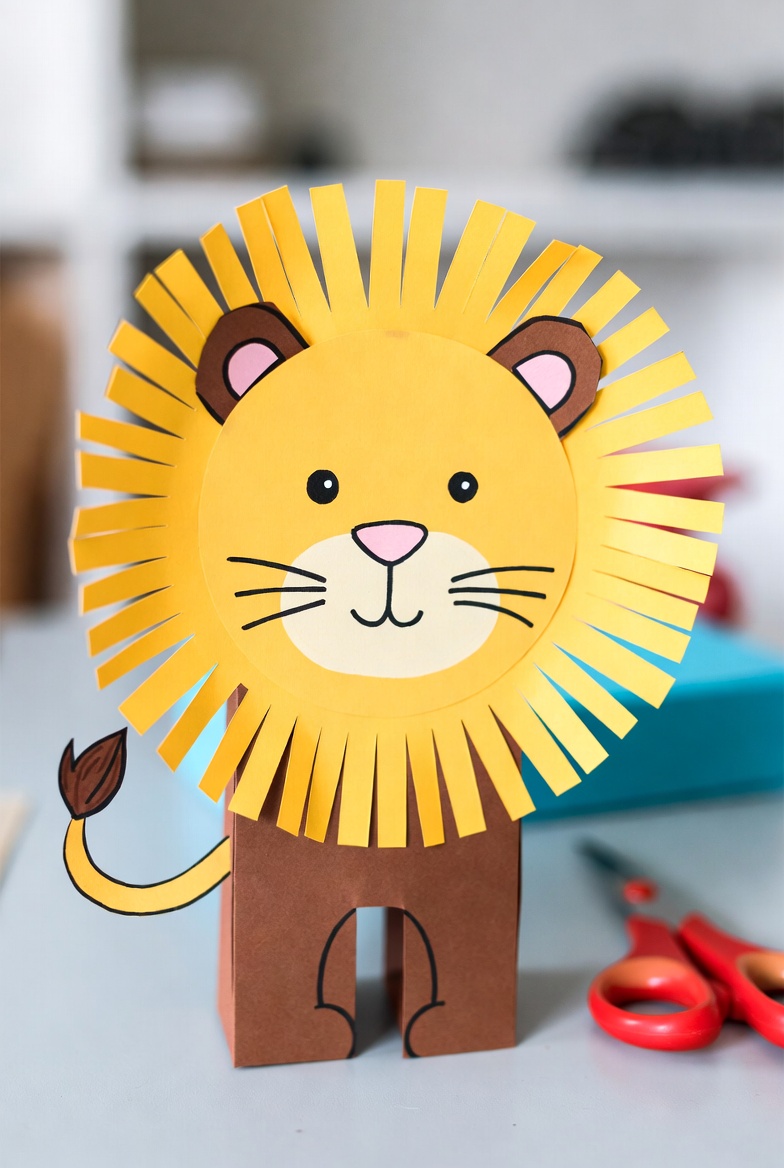
Step-by-Step: Make Your First 3D Paper Lion
- Draw or trace a simple lion body (rectangle), head (circle), and four legs on brown/yellow paper.
- Use your school scissors to carefully cut out every shape.
- On the head circle, make lots of short fringe cuts around the edge for the mane.
- Cut small tabs on the legs and body, then slot them together so the lion stands up.
- Add eyes and nose with marker, then glue the head on top.
That’s it — your lion is ready to roar!

More 3D Paper Animal Ideas
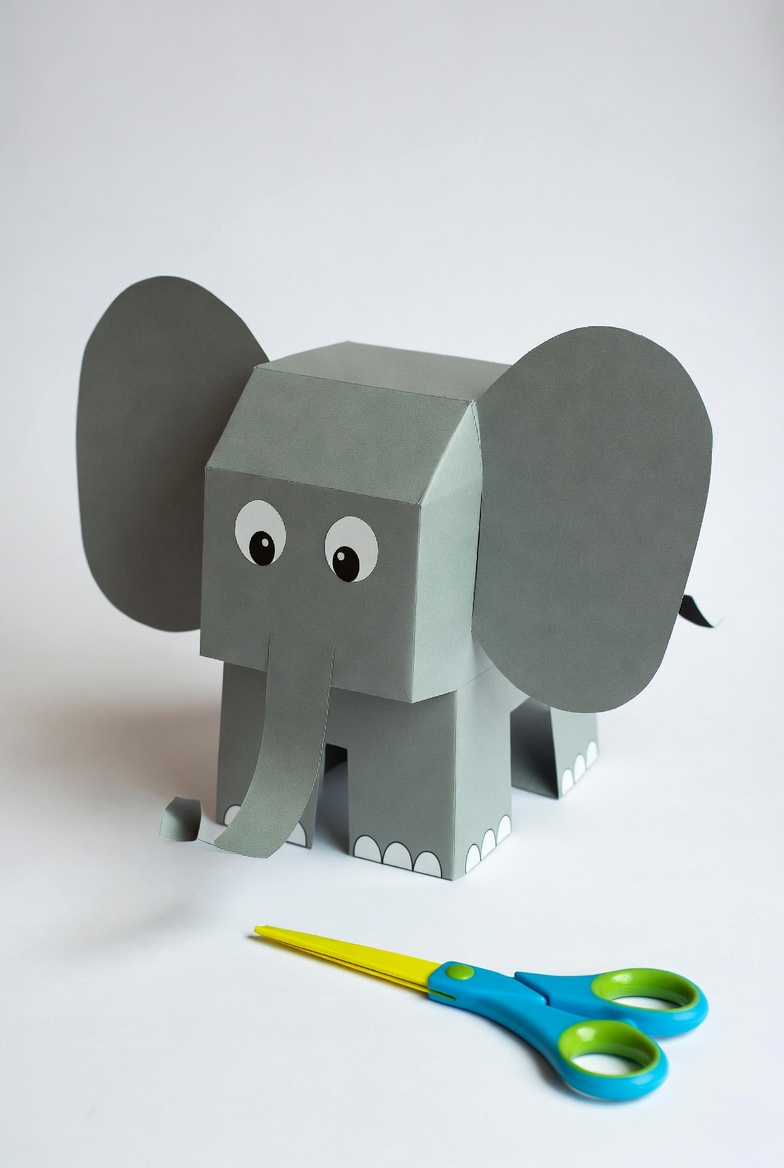
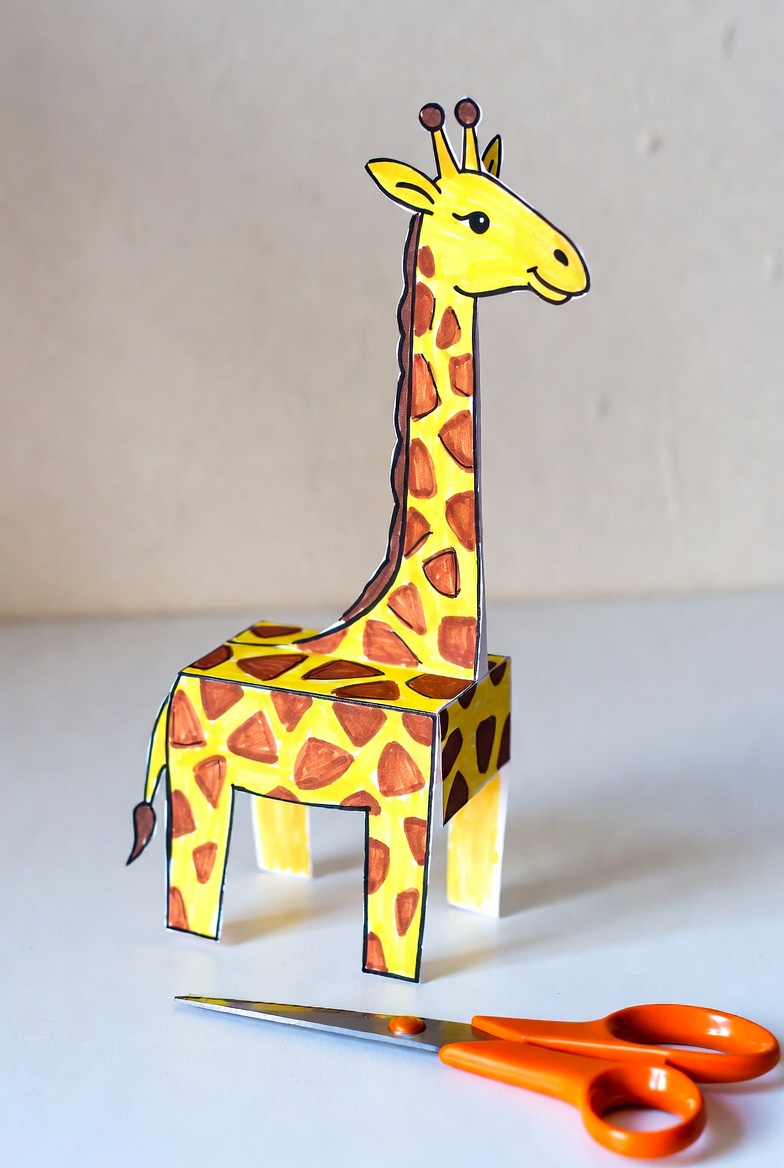
Try these next — all using the same basic cutting techniques and your trusty school scissors!


Quick Tips for Perfect Results
- Always use school scissors with rounded tips — they’re safe and give clean cuts.
- Cut slightly inside your pencil lines for neat edges.
- Fold legs outward so animals stand up by themselves.
- Let glue dry for 30 seconds before standing your creation.
Why Kids Love This Craft
It’s quick (15–30 minutes per animal), uses supplies you already have, and the 3D result feels like magic! Great for ages 5+ with a little adult help on tricky curves.
Ready to start crafting? Grab those school scissors and some colored paper — your zoo of 3D paper animals is waiting!
Share your creations with us in the comments — we’d love to see your lions, elephants, and giraffes! 🦁🐘🦒
Happy cutting! ✂️