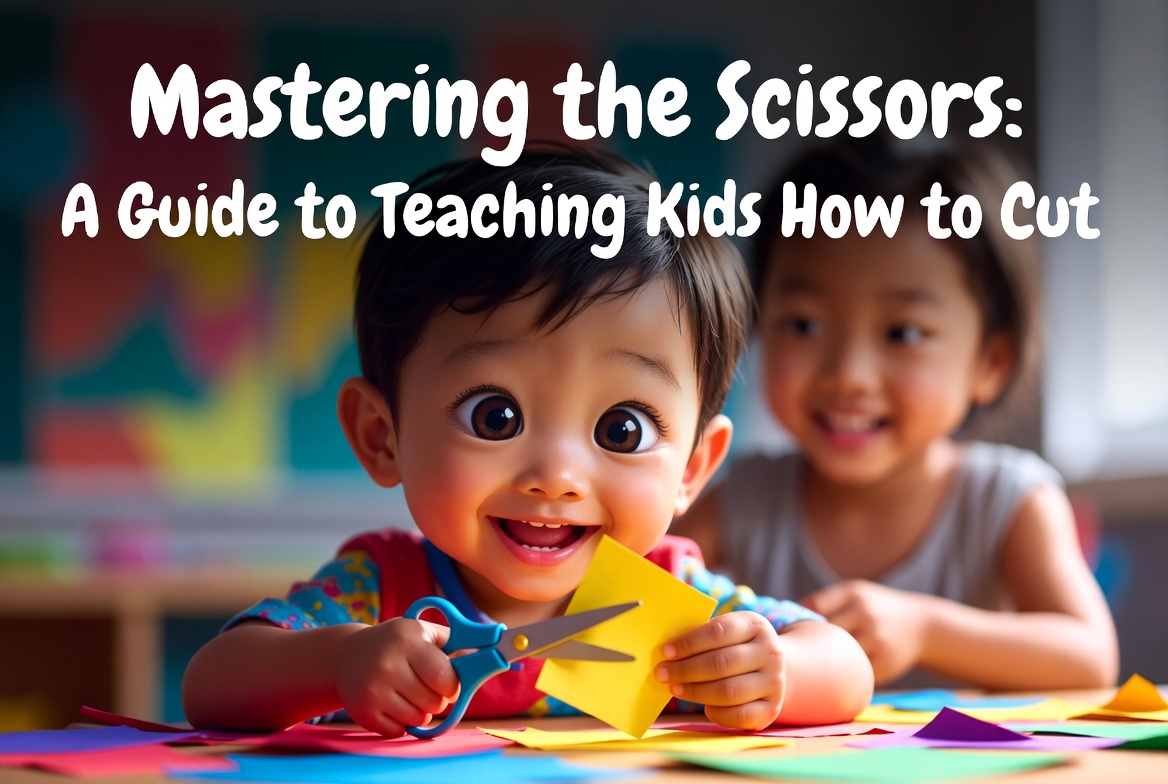
Mastering the Scissors: A Guide to Teaching Kids How to Cut
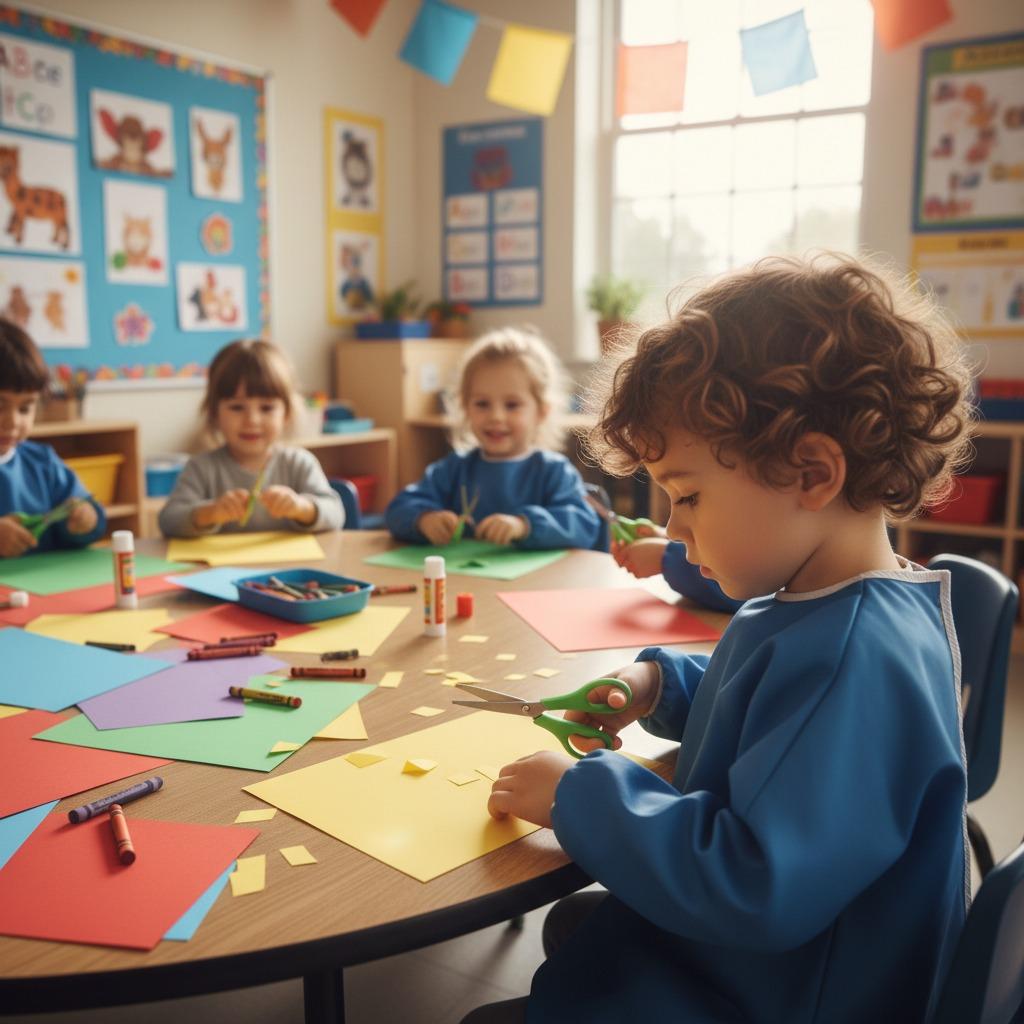
Teaching children how to use scissors is more than just a craft skill — it builds fine motor coordination, hand-eye coordination, confidence, and creativity. Mastering scissors helps kids prepare for school tasks like writing, art projects, and even self-care activities. With the right approach, patience, and safety-first mindset, children as young as 3 can start snipping their way to success!
Whether you’re a parent, teacher, or caregiver, this complete guide will walk you through everything you need to know. Let’s get cutting!
Choosing the Right Scissors for Little Hands
The first step is selecting age-appropriate, safe scissors. Not all scissors are created equal — especially when tiny fingers are involved!
Here’s a handy comparison table:
| Type of Scissors | Best For Ages | Key Features | Pros | Cons |
|---|---|---|---|---|
| Blunt-Tip Plastic | 3–5 | Lightweight plastic blades, no metal | Super safe, easy to grip | Can only cut thin paper |
| Loop Scissors (Self-Opening) | 3–6 | Spring-loaded, one-loop design | Helps kids who struggle with grip | Less control for complex cuts |
| Adaptive/Training Scissors | 4–7 | Dual loops or guided handles | Builds confidence quickly | May feel bulky at first |
| Blunt-Tip Metal (Child-Safe) | 5+ | Rounded metal blades, ergonomic handle | Cuts thicker paper & fabric | Requires more supervision |

Pro tip: Start with plastic or loop scissors for beginners. Always test the scissors yourself first!
Safety First: Non-Negotiable Rules
Scissors can be dangerous if misused, so teach these rules from day one. Post them on the wall or turn them into a fun song!
Safety Rules Table (Do’s & Don’ts)
| Do’s | Don’ts |
|---|---|
| Always cut away from your body | Never run or walk while holding scissors |
| Use scissors only at the table | Never point scissors at anyone |
| Keep scissors in a special “scissors box” when not in use | Never use adult sharp scissors |
| Wash hands after cutting (paper dust!) | Never put scissors in mouth |
| Have adult supervision for ages 3–6 | Never lend scissors to younger siblings |

Make safety fun — turn it into a “Super Scissor Hero” game!
Step-by-Step: How to Teach Cutting Skills
Follow this simple progression. Most kids master each stage in 1–2 weeks with daily 5–10 minute practice.
- Grip & Open/Close Practice — No paper yet!
- Straight Lines — Use thick construction paper.
- Curves & Zigzags — Draw dotted lines for guidance.
- Shapes & Free Cutting — Hearts, circles, and their own creations!

Age-Appropriate Activities Table
Tailor activities to your child’s age and watch their confidence soar!
| Age Group | Activity Ideas | Skills Developed |
|---|---|---|
| 3–4 years | Snip fringe on paper strips, cut playdough | Basic grip, hand strength |
| 4–5 years | Cut along straight & curved lines, make snowflakes | Hand-eye coordination, control |
| 5–6 years | Cut out simple shapes, cut fabric scraps | Precision, bilateral coordination |
| 6+ years | Create collages, cut complex patterns | Creativity, fine motor mastery |

Troubleshooting Common Problems
- Can’t open scissors? Use loop scissors or practice with playdough first.
- Cutting crooked? Draw thicker lines and use thicker paper.
- Frustrated? Take breaks and celebrate small wins with high-fives!
Fun Projects to Practice
- Make paper-chain snakes
- Create a “scissor skills” scrapbook
- Cut out magazine pictures for collages
- Design custom greeting cards
Final Thoughts
Mastering the scissors opens a world of creativity and independence for your child. Be patient, celebrate every snip, and watch them grow from hesitant beginners to confident little artists!
Ready to start? Grab those safe scissors and some colorful paper — happy cutting!
Share your child’s cutting masterpieces in the comments below! ✂️🎨
Safety reminder: Always supervise young children with scissors.